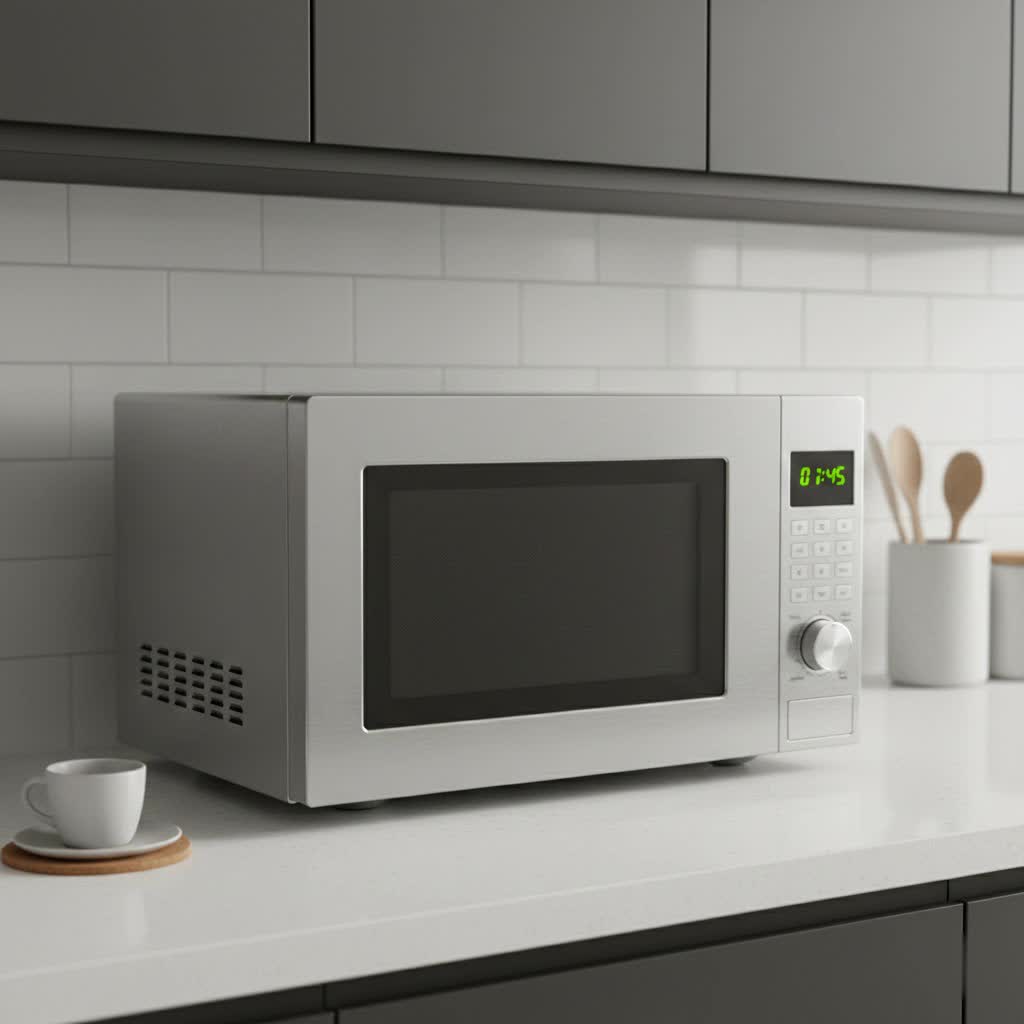
Is your microwave less of a kitchen hero and more of a science experiment gone wrong? We’ve all been there. Stubborn food splatters, mysterious crusts, and lingering odors can turn your convenient appliance into an uninviting mess. But before you reach for harsh chemical cleaners, imagine transforming that grime into glimmer with ingredients you likely already have in your pantry. Natural cleaning, using the power of humble lemons and vinegar, offers an incredibly effective, safe, and surprisingly satisfying solution to reclaim your microwave’s sparkle.
This comprehensive guide will walk you through the undeniable benefits of these natural powerhouses, detail the simple science behind their effectiveness, and provide clear, step-by-step instructions for both lemon-based and vinegar-based cleaning methods. You’ll also discover clever tricks for tackling even the toughest stains and banishing persistent odors, ensuring your microwave not only looks pristine but also smells wonderfully fresh. Get ready to embrace a cleaner kitchen with this easy, DIY approach.
Why Choose Natural Microwave Cleaning?
Opting for natural cleaning methods like lemon and vinegar offers a multitude of benefits for both your home and your health. Unlike many conventional cleaners that contain harsh chemicals, these everyday ingredients provide an effective solution without introducing synthetic fumes or residues into your food preparation space. This means a safer environment for your family, especially if you have children or pets, as there’s no risk of chemical contamination.
Beyond safety, lemon and vinegar are incredibly powerful. Lemon, with its high citric acid content, is a natural degreaser and deodorizer, leaving behind a crisp, clean scent. White vinegar, thanks to its acetic acid, is a formidable disinfectant and cuts through grease and grime with remarkable efficiency. Furthermore, these natural solutions are remarkably cost-effective, leveraging readily available and inexpensive pantry staples rather than costly specialized cleaning products.
The Science Behind the Sparkle: How Lemon and Vinegar Work
The magic behind cleaning your microwave with lemon and vinegar is a brilliant combination of steam power and natural acidity. When water, infused with lemon or vinegar, is heated in the microwave, it quickly reaches a boil, creating a steamy sauna inside the appliance. This hot, moist environment works wonders by softening and loosening dried-on food particles, grease, and grime that have adhered to the interior surfaces. The steam essentially “cooks” the dirt, making it far easier to wipe away.
Simultaneously, the acidic properties of lemon and vinegar come into play. Lemon juice contains citric acid, a natural solvent that excels at breaking down fatty residues and dissolving mineral deposits. It also possesses mild antibacterial qualities and leaves a refreshing, uplifting scent that helps neutralize unpleasant odors. White vinegar, primarily composed of acetic acid, is an even stronger degreaser and disinfectant. Its acidic nature effectively cuts through tough grease, disinfects surfaces by killing many types of bacteria and mold, and also helps to eliminate stubborn smells, leaving your microwave hygienically clean and odor-free. Together, steam and acid create a dynamic duo that makes microwave cleaning surprisingly effortless.
Essential Tools and Ingredients
Before you embark on your microwave cleaning mission, gather these simple items. You likely have most of them readily available in your kitchen, making this DIY method both convenient and eco-friendly.
- Microwave-Safe Bowl: A glass bowl or measuring cup that can safely withstand microwave temperatures.
- Water: Approximately 1 to 2 cups.
- Lemons: 1-2 fresh lemons, sliced or juiced.
- White Vinegar: 1-2 tablespoons, or up to half a cup for tougher jobs.
- Sponge or Microfiber Cloth: For wiping down the interior. A soft cloth prevents scratching.
- Optional: Toothpick: Placing a wooden toothpick in the bowl can help prevent superheating and over-boiling, as it provides a nucleation site for bubbles to form.
- Optional: Baking Soda: For tackling exceptionally stubborn stains or lingering odors.
Step-by-Step Guide: Effortless Microwave Cleaning with Natural Solutions
Ready to transform your microwave from grim to gleaming? Follow these easy steps to harness the natural cleaning power of lemon and vinegar. You can choose to use either lemon or vinegar, or even combine them for a powerful cleaning punch.
1. Prepare Your Cleaning Solution
- For a Lemon-Powered Clean: Fill your microwave-safe bowl with 1 to 2 cups of water. Slice one or two lemons into halves or quarters and squeeze their juice directly into the water, then drop the squeezed halves into the bowl.
- For a Vinegar Boost: Combine 1 to 2 cups of water with 2 to 4 tablespoons of white vinegar in your microwave-safe bowl. If you prefer, you can also add a few lemon slices for an enhanced fresh scent.
- Safety Tip: Consider adding a wooden toothpick to the bowl. This helps to prevent superheating of the water and ensures steam forms safely and effectively.
|
Our Picks for the Best Microwave in 2026
As an Amazon Associate I earn from qualifying purchases.
|
||
| Num | Product | Action |
|---|---|---|
| 1 | BLACK+DECKER EM720CB7 Digital Microwave Oven with Turntable Push-Button Door, Child Safety Lock, 700W, Stainless Steel, 0.7 Cu.ft |

|
| 2 | Chefman Countertop Microwave Oven 0.9 Cu. Ft., 900 Watts with 10 Power Levels, 6 Cooking Presets with One-Touch Express Cook, Eco Mode, Child Safety Lock, & Mute Button - Black |
|
| 3 | FRIGIDAIRE EMW788RETRO 0.7 cu. ft. Retro Microwave, Black-Gold |
|
| 4 | Chefman Countertop Microwave Oven 0.7 Cu. Ft., 700 Watts with 10 Power Levels, 6 Cooking Presets with One-Touch Express Cook, Eco Mode, Child Safety Lock, & Mute Button - Black |
|
| 5 | COMFEE' EM720CPL-PMB Countertop Microwave Oven with Sound On/Off, ECO Mode and Easy One-Touch Buttons, 0.7cu.ft, 700W, Black |
|
| 6 | TOSHIBA ML-EM09PA(BS) Small Microwave Oven with 6 Auto Menus, Mute Function, LED Lighting Countertop Microwave Perfect for Kitchen, 0.9 Cu Ft, 10.6 Inch Removable Turntable, 900W Black Stainless Steel |
|
| 7 | COMFEE' EM720CPL-PM Countertop Microwave Oven with Sound On/Off, ECO Mode and Easy One-Touch Buttons, 0.7 Cu Ft/700W, Pearl White |
|
| 8 | TOSHIBA EM131A5C-SS Countertop Microwave Ovens 1.2 Cu Ft with 12.4" Removable Turntable Smart Humidity Sensor, 12 Auto Menus Mute Function ECO Mode Easy Clean Interior, 1000W, Silver |
|
| 9 | FRIGIDAIRE EMW736BLK 0.7 Cu. Ft. Microwave, Black |
|
| 10 | TOSHIBA EM131A5C-BS Countertop Microwave Ovens 1.2 Cu Ft, 12.4" Removable Turntable Smart Humidity Sensor 12 Auto Menus Mute Function ECO Mode Easy Clean Interior Black Color 1000W |
|
2. Heat and Steam
- Carefully place the bowl with your chosen cleaning solution into the center of your microwave.
- Set your microwave to high power and run it for 3 to 5 minutes, or until the liquid comes to a rolling boil and the interior of the microwave becomes steamy. You should see condensation forming on the inside of the door and walls.
3. Let the Steam Work Its Magic
- Crucial Step: Once the microwave finishes its cycle, do not open the door immediately. Let the bowl remain inside with the door closed for an additional 5 to 15 minutes. For very heavily soiled microwaves, extending this “steam bath” time can be incredibly beneficial, allowing the steam and acids to deeply penetrate and loosen all the baked-on grime. This passive cleaning phase is where most of the hard work happens!
4. Wipe Away the Grime
- Carefully open the microwave door and, using oven mitts or a towel, remove the hot bowl. The turntable and any removable racks should also be removed.
- Dip your clean sponge or microfiber cloth into the now slightly cooled cleaning solution. Begin wiping down the inside walls, ceiling, and floor of the microwave. You’ll be amazed at how easily food splatters and grease wipe away with minimal scrubbing.
- Use the same damp cloth to clean the inside of the microwave door, including the often-overlooked area around the seals.
- Hand wash the removable turntable and any racks with warm soapy water or run them through the dishwasher.
5. Final Touches
- Use a separate clean, damp cloth to wipe away any residual cleaning solution.
- Finish by drying the interior thoroughly with a dry cloth or paper towel.
- For an extra fresh scent, you can leave the microwave door ajar for a short period to allow it to air out completely.
Tackling Tough Stains and Lingering Odors
Even with the best natural cleaning agents, some microwaves might harbor exceptionally stubborn stains or persistent, unpleasant odors. Don’t despair – there are a few extra tricks you can employ to achieve a truly pristine result.
For very stubborn, baked-on stains that resist the initial wipe, try a more targeted approach. Dip your cleaning cloth directly into the still-warm lemon or vinegar solution from the bowl and gently scrub the affected area. The concentrated acidity can help break down recalcitrant grime. If a stain remains particularly defiant, you can create a paste using a small amount of baking soda and water. Apply this paste directly to the stubborn spot, let it sit for 5-10 minutes, and then scrub gently with a damp sponge before wiping clean. Baking soda’s mild abrasive properties can provide the extra scrubbing power needed without scratching your microwave’s interior.
As for lingering odors, lemon and vinegar are excellent deodorizers, but some smells are exceptionally persistent. After cleaning, if an unwanted aroma still lingers, place an open bowl of baking soda inside the microwave, close the door, and leave it overnight (or for at least 12 hours). Baking soda is a natural absorbent that will effectively draw out and neutralize any remaining funky smells, leaving your microwave genuinely fresh.
Maintaining a Pristine Microwave: Tips for Everyday Cleanliness
A clean microwave doesn’t have to be a once-a-month deep-cleaning ordeal. Incorporating a few simple habits into your daily routine can keep your appliance looking fresh and significantly reduce the need for extensive cleaning sessions. Prevention is truly the best medicine when it comes to microwave messes.
- Cover Your Food: This is arguably the most effective preventive measure. Always use a microwave-safe lid, plastic wrap, or a paper towel to cover dishes when heating food. This simple act traps splatters and prevents them from coating the interior walls, saving you countless minutes of scrubbing later.
- Wipe Spills Immediately: Accidental spills happen. If you notice a fresh splatter or boil-over, address it right away. A quick wipe with a damp cloth before it dries and hardens can save you from a tough scrubbing job later. Fresh spills are much easier to clean than baked-on messes.
- Regular Quick Cleans: Even if you cover your food diligently, a quick wipe-down every few days can make a big difference. Use a damp cloth to quickly clean the turntable and the interior walls. This prevents minor buildups from becoming major problems.
- Air Out After Use: After heating food, leave the microwave door ajar for a few minutes. This allows steam and food odors to dissipate, preventing moisture buildup and keeping your microwave smelling fresh.
By adopting these small habits, you’ll find that your microwave stays cleaner, smells better, and your deep cleaning sessions become far less frequent and much easier to manage.
Conclusion
Say goodbye to stubborn splatters and unwelcome odors, and hello to a sparkling clean microwave! As we’ve explored, achieving a pristine appliance doesn’t require harsh chemicals or extensive scrubbing. With just a few common kitchen ingredients – lemons and vinegar – you can harness the natural power of steam and acidity to effectively cut through grease, dissolve baked-on food, and neutralize lingering smells. This DIY method is not only incredibly effective and cost-efficient but also creates a safer, more pleasant cooking environment for everyone.
Embrace these simple, natural cleaning techniques, and you’ll not only prolong the life of your microwave but also enjoy the satisfaction of a beautifully maintained kitchen. So, why not give this lemon and vinegar cleaning hack a try today? Your microwave – and your nose – will thank you!
Frequently Asked Questions
How often should I clean my microwave using this method?
For regular use, a quick wipe-down with this method once a week is ideal. If you frequently heat messy foods or notice persistent odors, you might want to clean it more often, perhaps every few days.
Can I use bottled lemon juice instead of fresh lemons?
Yes, bottled lemon juice works just as effectively. Use approximately 1-2 tablespoons of bottled lemon juice for every cup of water. The key is the citric acid content to help cut grease and deodorize.
Is it safe to use vinegar in a microwave?
Absolutely. White vinegar is perfectly safe for cleaning inside a microwave. Its acidity effectively breaks down food residue and disinfects surfaces without causing damage. Always ensure it’s diluted with water.
What if my microwave still smells after cleaning?
If odors persist, try placing an open bowl containing about half a cup of baking soda inside the microwave after cleaning. Close the door and leave it overnight to absorb any lingering smells naturally.
Can I combine lemon and vinegar in the cleaning solution?
Yes, you can! Combining lemon slices or juice with white vinegar in the cleaning solution enhances both the degreasing and deodorizing properties, often providing an even more powerful and fresh-smelling clean.
How do I clean the microwave exterior?
You can use the same lemon and vinegar solution, slightly diluted if desired, to wipe down the exterior of your microwave with a clean microfiber cloth. This will remove fingerprints and grease, leaving it sparkling clean.