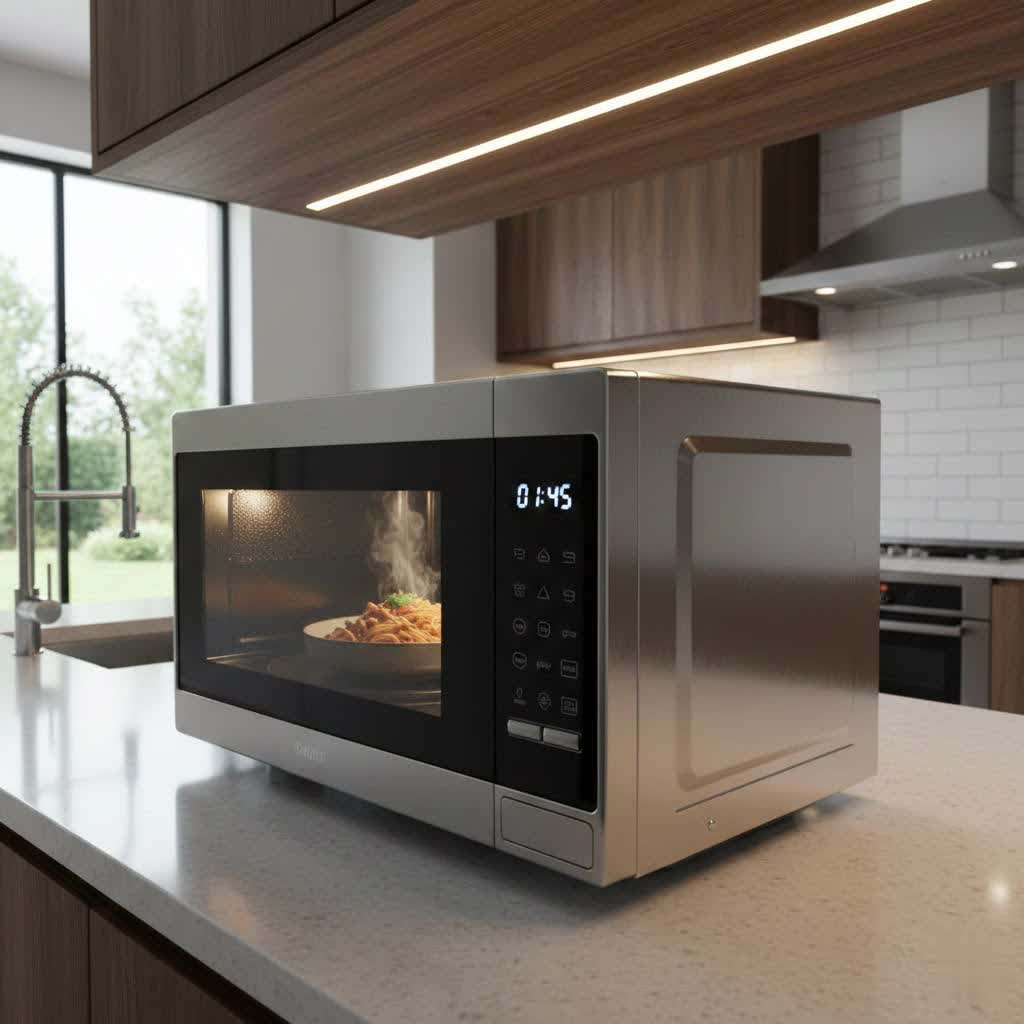
A flickering or dead light bulb in your microwave can be more than just an annoyance; it obscures your view of food, making cooking less precise and potentially leading to messy boil-overs. While a microwave light bulb might seem like a minor component, it plays a crucial role in your daily kitchen routine. Replacing a burnt-out bulb is a common household repair that many people can tackle themselves. This guide will walk you through the essential safety measures, help you identify the correct replacement bulb, and provide clear, step-by-step instructions to get your microwave shining brightly again.
Why Your Microwave Light Bulb Matters
The humble microwave light bulb does more than just illuminate your food. It offers crucial visibility, allowing you to monitor cooking progress without constantly opening the door, which can interrupt the cooking cycle and let heat escape. A working light is essential for observing whether your soup is about to boil over, your popcorn is perfectly popped, or your leftovers are adequately heated. Beyond practical visibility, a functioning light contributes to the overall safety of your kitchen, as it helps prevent accidents by giving you a clear view of the appliance’s interior. When the light goes out, it often signals the need for a simple replacement, restoring both convenience and safety to your microwave use.
Essential Safety Precautions Before You Begin
Working with any electrical appliance, especially a microwave, demands absolute caution. Microwaves contain a high-voltage capacitor that can store a potentially lethal electrical charge for weeks, even after the appliance is unplugged. It is imperative to prioritize safety throughout this process.
The Golden Rule: Always start by unplugging your microwave from the wall outlet. This disconnects the main power supply and is the single most important safety step you can take.
The High-Voltage Capacitor Warning: Never touch any internal components, particularly the large, cylindrical capacitor, without understanding the risks. If you must remove the outer casing of your microwave to access the bulb, it’s strongly recommended to leave the appliance unplugged for at least 24 hours to allow the capacitor to naturally discharge. If you’re not experienced in appliance repair, consider consulting a qualified technician for jobs that require internal access. Protecting yourself with work gloves and safety glasses is also highly advisable to guard against sharp edges and potential electrical hazards. Ignoring these precautions can lead to severe injury or even death. Additionally, be aware that some manufacturers may void warranties if unauthorized internal repairs are attempted, especially on newer models.
Identifying the Right Replacement Microwave Light Bulb
Choosing the correct replacement bulb is paramount for both safety and proper function. Using a bulb with incorrect specifications can lead to overheating, damage to the microwave’s internal components, or even a fire hazard. Not all light bulbs are created equal, and appliance-specific bulbs are designed to withstand the unique environment within a microwave, including moderate heat and vibrations.
To find the right bulb, always consult your microwave’s user manual first. This is the most reliable source for specifications like wattage, voltage, physical size, and base type (e.g., screw-in, push-in, bayonet). If the manual is unavailable, check for a sticker inside the microwave cavity (often near the door), on the back, or under the unit for model information, which you can then use to search for the correct part online. Common types of microwave bulbs include incandescent, halogen, and sometimes LED appliance bulbs. While LEDs offer greater energy efficiency and a longer lifespan, ensure any LED replacement is specifically rated for microwave use to prevent compatibility issues.
Tools You’ll Need for the Job
Before you begin, gather the necessary tools to ensure a smooth and efficient replacement process. Having everything at hand will prevent interruptions and make the job safer.
Here’s a typical list of what you might need:
- Screwdrivers: A Philips-head screwdriver is almost always required, as most microwave panels are secured with these screws. A flat-head screwdriver might also be useful for prying open covers or releasing clips.
- Work Gloves: Essential for protecting your hands from potentially sharp metal edges inside the microwave and for a better grip on the bulb.
- Needle-Nose Pliers: These can be helpful if the bulb has wired connections that need to be disconnected and reconnected, or for handling small clips.
- Utility Knife (Optional): In some cases, an old bulb might be secured with a small amount of silicone sealant, which can be carefully cut away with a utility knife.
- New Microwave Light Bulb: Ensure you have the correct replacement bulb with matching wattage, voltage, and base type.
Step-by-Step Guide: Replacing Your Microwave Light Bulb
Replacing your microwave light bulb doesn’t have to be a daunting task. By following these steps carefully, you can safely restore light to your appliance. Remember, patience and adherence to safety protocols are key.
Step 1: Disconnect Power and Prepare Your Workspace
|
Our Picks for the Best Microwave in 2026
As an Amazon Associate I earn from qualifying purchases.
|
||
| Num | Product | Action |
|---|---|---|
| 1 | FRIGIDAIRE EMW788RETRO 0.7 cu. ft. Retro Microwave, Black-Gold |

|
| 2 | Chefman Countertop Microwave Oven 0.9 Cu. Ft., 900 Watts with 10 Power Levels, 6 Cooking Presets with One-Touch Express Cook, Eco Mode, Child Safety Lock, & Mute Button - Black |
|
| 3 | BLACK+DECKER EM720CB7 Digital Microwave Oven with Turntable Push-Button Door, Child Safety Lock, 700W, Stainless Steel, 0.7 Cu.ft |
|
| 4 | Chefman Countertop Microwave Oven 0.7 Cu. Ft., 700 Watts with 10 Power Levels, 6 Cooking Presets with One-Touch Express Cook, Eco Mode, Child Safety Lock, & Mute Button - Black |
|
| 5 | FRIGIDAIRE EMW736BLK 0.7 Cu. Ft. Microwave, Black |
|
| 6 | COMFEE' EM720CPL-PM Countertop Microwave Oven with Sound On/Off, ECO Mode and Easy One-Touch Buttons, 0.7 Cu Ft/700W, Pearl White |
|
| 7 | COMFEE' EM720CPL-PMB Countertop Microwave Oven with Sound On/Off, ECO Mode and Easy One-Touch Buttons, 0.7cu.ft, 700W, Black |
|
| 8 | TOSHIBA EM131A5C-SS Countertop Microwave Ovens 1.2 Cu Ft with 12.4" Removable Turntable Smart Humidity Sensor, 12 Auto Menus Mute Function ECO Mode Easy Clean Interior, 1000W, Silver |
|
| 9 | TOSHIBA ML-EM09PA(BS) Small Microwave Oven with 6 Auto Menus, Mute Function, LED Lighting Countertop Microwave Perfect for Kitchen, 0.9 Cu Ft, 10.6 Inch Removable Turntable, 900W Black Stainless Steel |
|
| 10 | TOSHIBA EM131A5C-BS Countertop Microwave Ovens 1.2 Cu Ft, 12.4" Removable Turntable Smart Humidity Sensor 12 Auto Menus Mute Function ECO Mode Easy Clean Interior Black Color 1000W |
|
The first and most critical step is to ensure electrical safety. Completely unplug the microwave from its power outlet. Do not proceed until the appliance is fully disconnected. Next, clear a well-lit and spacious work area. If your microwave is built-in or over-the-range, you might need to carefully slide it out or lower it (if it has a tilting mechanism) to access the necessary panels. Allow the microwave to cool down completely if it has been recently used, as internal components can be hot.
Step 2: Access the Bulb Compartment
Accessing the light bulb compartment varies significantly between microwave models. Some microwaves allow access from inside the oven cavity, while others require removing external panels.
- Internal Access: Look for a small, usually rectangular or circular, plastic or glass cover inside the microwave oven. This cover is typically secured by one or two small screws. Unscrew these, and carefully remove the cover to expose the bulb.
- External Access (Most Common for Over-the-Range Models): For many over-the-range microwaves, you’ll need to remove a vent grill or a top/side panel. Locate the screws holding these panels in place (often on the back, sides, or bottom of the microwave). Use your Philips-head screwdriver to remove them. Gently remove the panel, being mindful of any wires that might be attached. For countertop models, the bulb is usually behind a rear or side access panel. Exercise caution when removing panels, as some internal edges can be sharp.
Step 3: Remove the Old Bulb
Once the bulb is accessible, you can remove the old, burnt-out one. The method depends on the bulb’s type:
- Screw-in Bulb: Simply turn the bulb counter-clockwise until it comes loose, just like a standard light bulb.
- Push-and-Twist Bulb: Push the bulb inward slightly and twist it counter-clockwise to release it from its socket.
- Wired Connections: Some bulbs might be secured with small mounting screws and have two wires connected to them. Unscrew the mounting screws and use needle-nose pliers to gently disconnect the wires from the bulb terminals. If there’s silicone sealant securing the bulb, carefully cut it with a utility knife before attempting to remove the bulb or its connections.
Step 4: Install the New Bulb
With the old bulb removed, it’s time to install the replacement. Ensure the new bulb matches the specifications of the old one in terms of wattage, voltage, and base type.
- Screw-in Bulb: Carefully screw the new bulb clockwise into the socket until it’s snug, but avoid overtightening.
- Push-and-Twist Bulb: Align the bulb’s pins with the socket’s slots, push it in, and twist clockwise until it locks into place.
- Wired Connections: Reconnect the wires to the new bulb’s terminals, ensuring a secure connection. Then, reattach any mounting screws you removed.
Make sure the bulb is seated firmly in its socket; a loose connection is a common reason for a new bulb not to light up.
Step 5: Reassemble and Test
After the new bulb is securely installed, carefully reverse the disassembly process. Reattach all panels, covers, and vent grills, tightening all screws firmly. Double-check that all components are correctly aligned and secured.
Once everything is reassembled, plug the microwave back into the power outlet. Open the microwave door and then close it, or initiate a short cooking cycle to test the new light bulb. If the light illuminates, congratulations – you’ve successfully replaced your microwave light bulb!
Troubleshooting Common Issues After Replacement
Even after following all the steps, you might find that your new microwave light bulb still isn’t working. Don’t worry, a few common issues can arise. First, reconfirm the bulb is tightly secured in its socket. A loose connection is often the simplest fix.
If the bulb is properly installed and still dark, the issue might lie with the light socket itself. Over time, sockets can become corroded or defective. An appliance repair technician can test the socket for continuity using a multimeter to determine if it’s faulty and needs replacement. In rare instances, a problem with the microwave’s control board could be preventing power from reaching the light, though this is less common for just a light bulb issue. Look for any signs of burning or damage on the control board if you suspect this.
“A common mistake DIYers make is underestimating the residual charge in a microwave’s capacitor. Always respect the appliance’s internal power, even when unplugged. When in doubt, call a professional.” – Sarah Chen, Certified Appliance Technician.
If you’ve checked these common culprits and the light still isn’t working, or if you’re uncomfortable exploring internal components further, it’s always best to call a qualified appliance repair professional. They have the expertise and specialized tools to diagnose and fix more complex electrical issues safely.
Maintaining Your Microwave for Longevity
While replacing a light bulb is a minor repair, it’s a good reminder that regular maintenance can significantly extend the life of your microwave and prevent future problems. Keeping your microwave clean is fundamental; food splatters and grease can accumulate, potentially affecting various components over time. Use a damp cloth with mild soap for interior cleaning, and wipe down the exterior regularly. Avoid harsh abrasive cleaners that can damage surfaces.
Periodically check for any loose screws on panels or the door hinges, and tighten them as needed. Ensuring proper ventilation around your microwave, especially for over-the-range models, helps prevent overheating and undue stress on internal parts. By incorporating these simple maintenance habits, you not only ensure your microwave functions optimally but also extend its overall lifespan, providing you with years of reliable service.
Conclusion
Replacing a burnt-out microwave light bulb is a manageable task that can quickly restore convenience and clarity to your kitchen. By prioritizing safety through proper disconnection and awareness of the high-voltage capacitor, selecting the correct replacement bulb, and carefully following the installation steps, you can confidently tackle this common appliance repair. A working microwave light makes monitoring your meals effortless and enhances your overall cooking experience.
Empowering yourself with basic appliance repair knowledge, like changing a microwave bulb, not only saves you money but also builds confidence for other minor household fixes. What other small appliance repairs are you ready to conquer next in your kitchen?
Frequently Asked Questions
Can I use a regular household light bulb in my microwave?
No, you should only use appliance-specific light bulbs designed for microwaves. Regular household bulbs are not built to withstand the higher temperatures and unique vibrations inside a microwave, which can lead to premature failure, damage to the appliance, or even a fire hazard. Always match the wattage, voltage, and base type specified by your microwave’s manufacturer.
How long should a microwave light bulb last?
The lifespan of a microwave light bulb can vary depending on its type and how often the microwave is used. Incandescent bulbs typically last for hundreds to a few thousand hours, while halogen and especially LED appliance bulbs can last significantly longer, often for many thousands of hours. Frequent opening and closing of the microwave door can also affect bulb longevity.
What if my new microwave light bulb still doesn’t work?
If your new bulb isn’t lighting up, first ensure it’s securely screwed or pushed into the socket. If it’s firm, the issue might be a defective light socket itself, or less commonly, a problem with the microwave’s control board. If you’ve tried reseating the bulb and it still fails, it’s best to consult a qualified appliance repair technician for further diagnosis and repair.