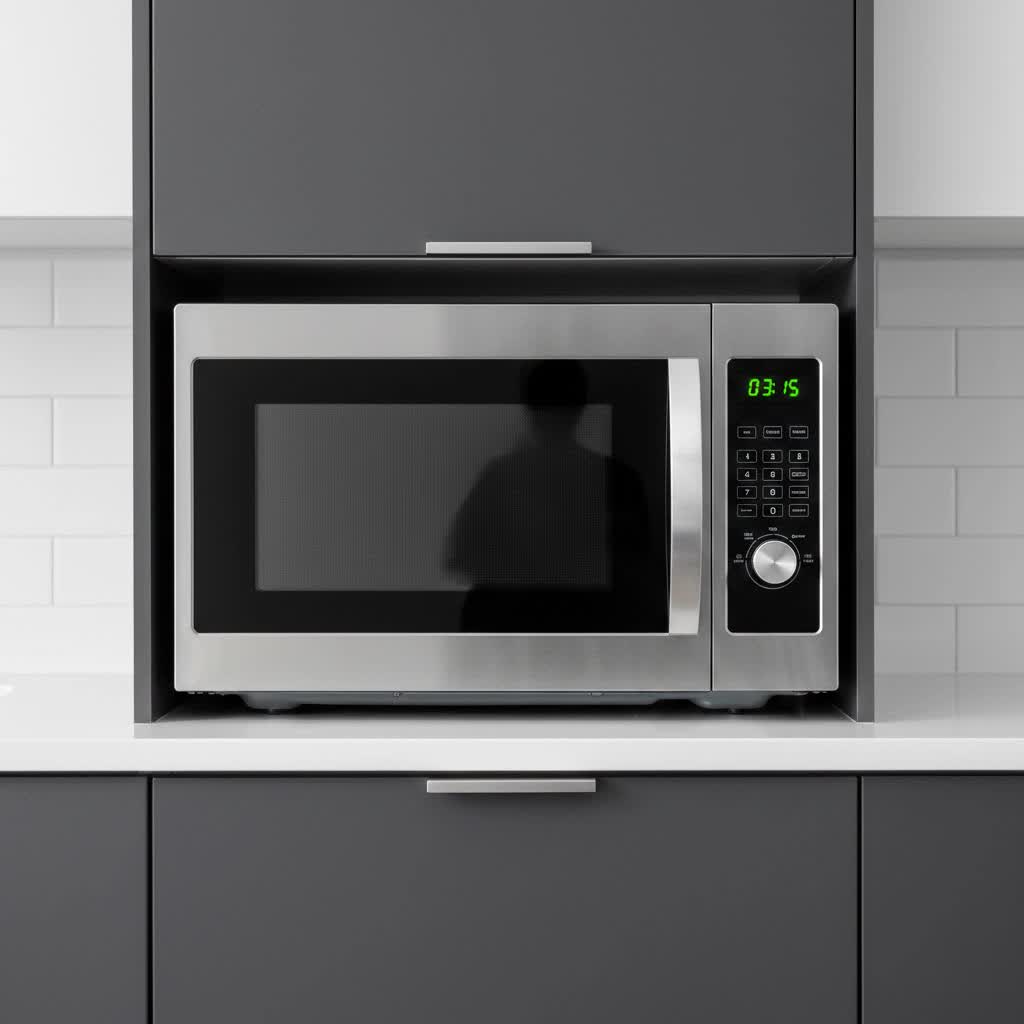
Discovering melted plastic stuck to the floor of your microwave can be a frustrating and potentially hazardous experience. Whether it was an accidental oversight or an unknown non-microwave-safe container, the residue can emit unpleasant odors and even pose health risks if not addressed promptly. But don’t despair – with the right approach and a little patience, you can effectively and safely tackle this common kitchen mishap, restoring your microwave to its clean, functional state.
Understanding Melted Plastic in Your Microwave: Causes and Risks
Melted plastic in a microwave typically occurs when a non-microwave-safe container or item is inadvertently heated. The intense microwave radiation causes the plastic to absorb energy, heat up rapidly, and eventually melt, adhering to the interior surfaces, most commonly the floor. Beyond the unsightly mess, melted plastic can release toxic fumes into the air, creating a persistent burning smell that can taint subsequent food items. Furthermore, the residue can be difficult to remove without potentially damaging the microwave’s interior coating, which is why a careful and systematic approach is essential.
Safety First: Essential Precautions Before You Start
Before attempting any cleaning, safety should be your top priority. Always unplug your microwave from the power outlet to prevent accidental activation and electrical hazards. Ensure adequate ventilation in your kitchen by opening windows or turning on an exhaust fan, as the melted plastic might still emit residual fumes during the cleaning process. It’s also advisable to wear protective gloves to shield your hands from any sharp scraping tools or cleaning agents. Taking these initial steps ensures a safer environment for tackling the melted plastic.
Effective Methods for Removing Melted Plastic from Your Microwave Floor
There are several proven techniques to remove melted plastic, each leveraging different properties to make the plastic brittle, soft, or easier to lift.
1. The Ice-Chilling Technique: Making Plastic Brittle
The principle behind this method is to cool the melted plastic rapidly, causing it to contract and become brittle. This makes it easier to chip away without leaving sticky residue.
- How it Works: Fill a plastic bag or a freezer bag with ice cubes. Place this bag directly on top of the melted plastic patch inside your microwave. Let it sit for at least 10 to 15 minutes. The cold temperature will cause the plastic to harden and become less pliable, similar to how ice makes plastic more brittle.
- Tools Required: A plastic bag, ice cubes, a non-abrasive scraper (like a plastic bench scraper, an old credit card, or even a wooden spatula), or a butter knife. For tougher spots, a safety razor blade scraper can be used with extreme caution to avoid scratching the microwave’s surface.
- Steps:
- Unplug the microwave.
- Place the ice-filled bag directly over the melted plastic for 10-15 minutes.
- Carefully use your chosen scraper or butter knife to gently lift and chip away the hardened plastic from its edges. Start from the outside and work your way in.
- Repeat the chilling process if the plastic begins to soften again before it’s fully removed.
- Pros: Generally safe for microwave surfaces, no harsh chemicals, effective for most types of plastic.
- Cons: Requires patience, may need multiple applications for larger or thicker plastic spills.
|
Our Picks for the Best Microwave in 2026
As an Amazon Associate I earn from qualifying purchases.
|
||
| Num | Product | Action |
|---|---|---|
| 1 | TOSHIBA EM131A5C-BS Countertop Microwave Ovens 1.2 Cu Ft, 12.4" Removable Turntable Smart Humidity Sensor 12 Auto Menus Mute Function ECO Mode Easy Clean Interior Black Color 1000W |

|
| 2 | FRIGIDAIRE EMW736BLK 0.7 Cu. Ft. Microwave, Black |
|
| 3 | Chefman Countertop Microwave Oven 0.7 Cu. Ft., 700 Watts with 10 Power Levels, 6 Cooking Presets with One-Touch Express Cook, Eco Mode, Child Safety Lock, & Mute Button - Black |
|
| 4 | COMFEE' EM720CPL-PMB Countertop Microwave Oven with Sound On/Off, ECO Mode and Easy One-Touch Buttons, 0.7cu.ft, 700W, Black |
|
| 5 | FRIGIDAIRE EMW788RETRO 0.7 cu. ft. Retro Microwave, Black-Gold |
|
| 6 | BLACK+DECKER EM720CB7 Digital Microwave Oven with Turntable Push-Button Door, Child Safety Lock, 700W, Stainless Steel, 0.7 Cu.ft |
|
| 7 | COMFEE' EM720CPL-PM Countertop Microwave Oven with Sound On/Off, ECO Mode and Easy One-Touch Buttons, 0.7 Cu Ft/700W, Pearl White |
|
| 8 | TOSHIBA EM131A5C-SS Countertop Microwave Ovens 1.2 Cu Ft with 12.4" Removable Turntable Smart Humidity Sensor, 12 Auto Menus Mute Function ECO Mode Easy Clean Interior, 1000W, Silver |
|
| 9 | Chefman Countertop Microwave Oven 0.9 Cu. Ft., 900 Watts with 10 Power Levels, 6 Cooking Presets with One-Touch Express Cook, Eco Mode, Child Safety Lock, & Mute Button - Black |
|
| 10 | TOSHIBA ML-EM09PA(BS) Small Microwave Oven with 6 Auto Menus, Mute Function, LED Lighting Countertop Microwave Perfect for Kitchen, 0.9 Cu Ft, 10.6 Inch Removable Turntable, 900W Black Stainless Steel |
|
2. The Steam-Loosening Approach: Softening the Residue
Steam can be an effective way to loosen stubborn grime and, in some cases, soften certain types of melted plastic, making it easier to wipe away. This method also helps in neutralizing any lingering odors.
- How it Works: The hot steam created inside the microwave helps to re-soften the plastic and loosen its grip on the microwave floor. It also works wonders on lingering odors.
- Tools Required: A microwave-safe bowl, water, and optional additions like lemon, lime, orange slices, or white vinegar. A sponge or soft cloth for wiping.
- Steps:
- Unplug the microwave.
- Fill a microwave-safe bowl with one cup of water. For odor removal, add a chopped-up lemon, lime, orange, or several tablespoons of white vinegar to the water.
- Place the bowl inside the microwave and turn the microwave on high for several minutes, or until the water boils and the microwave interior is visibly steamy.
- Leave the microwave door closed for an additional 5-15 minutes, allowing the steam to continue working on the plastic and odors.
- Carefully remove the hot bowl.
- Use a soft cloth or sponge to gently wipe away the softened plastic and any residue. For more stubborn areas, you might still need a plastic scraper after the steaming.
- Pros: Helps remove odors, softens some plastics, also cleans general grime.
- Cons: May not fully remove all types of plastic, especially if heavily melted and fused.
3. Gentle Scraping with Baking Soda Paste
Baking soda is a mild abrasive that can help break down the plastic residue and facilitate its removal without scratching the microwave’s interior.
- How it Works: A paste made from baking soda and water acts as a gentle scrubbing agent, helping to loosen the plastic.
- Tools Required: Baking soda, warm water, a non-abrasive scraper (wooden spatula, plastic scraper).
- Steps:
- Unplug the microwave.
- Carefully remove any excess loose plastic using a wooden spatula or plastic scraper.
- Mix baking soda with a few drops of warm water to create a thick paste.
- Apply the paste liberally over the melted plastic area and let it sit for about 5-10 minutes.
- Gently scrape away the paste and the loosened plastic with your non-abrasive tool.
- Wipe the area clean with a damp cloth.
- Pros: Non-toxic, safe for surfaces, effective for lighter residues.
- Cons: Might not be strong enough for deeply embedded or large melted plastic areas.
4. Alternative/Last Resort: Acetone (Use with Extreme Caution)
Acetone, found in many nail polish removers, is a powerful solvent that can dissolve some plastics. However, it should be used with extreme caution and only as a last resort due to its strength and potential to damage microwave finishes or release strong fumes.
- How it Works: Acetone directly dissolves certain types of plastic.
- Tools Required: Acetone-based nail polish remover, cotton balls or a clean cloth, protective gloves, a well-ventilated area.
- Steps:
- Unplug the microwave.
- Ensure your kitchen is extremely well-ventilated.
- Apply a small amount of acetone to a cotton ball or cloth.
- Carefully dab (do not rub aggressively) the melted plastic, allowing the acetone to sit for a minute or two to soften the plastic.
- Gently scrape or wipe away the softened plastic.
- Immediately wipe the area thoroughly with a damp cloth to remove all traces of acetone, then dry.
- Pros: Can be effective for very stubborn plastic residues.
- Cons: Highly risky – can damage the microwave’s interior paint or finish, strong fumes, requires very careful handling. Test in an inconspicuous area first. Avoid if your microwave has a plastic interior lining.
“When dealing with melted plastic, always prioritize gentler methods first. Aggressive scraping or harsh chemicals can permanently damage your microwave’s interior, potentially creating more problems than the plastic itself.” – Dr. Elena Petrova, Appliance Repair Specialist
Step-by-Step Guide: General Process for Effective Removal
Combining the best aspects of these methods, here’s a general workflow to tackle melted plastic:
- Preparation: Unplug the microwave, ensure good ventilation, and wear protective gloves.
- Initial Removal: If any part of the plastic is thick and loose, try to gently pry off what you can with a wooden or plastic scraper without forcing it.
- Chill the Plastic: Apply the ice bag technique for 10-15 minutes to harden the plastic.
- First Scraping Attempt: Use a plastic scraper, butter knife, or wooden spatula to carefully chip away the brittle plastic. Work slowly and gently from the edges.
- Steam for Stubborn Residue & Odor: If plastic remains or there’s a lingering smell, use the steam method with water and citrus/vinegar. Let it sit for 5-15 minutes.
- Second Scraping/Wiping: After steaming, attempt to scrape again or simply wipe away any softened residue.
- Baking Soda Polish: For very thin films or slight discoloration, apply a baking soda paste and gently rub with a damp cloth, then wipe clean.
- Final Cleanup: Wipe the entire microwave interior with a clean, damp cloth, then dry thoroughly. If a faint odor persists, leave a bowl of activated charcoal, coffee grounds, or baking soda in the microwave overnight with the door ajar.
Preventing Future Melted Plastic Mishaps
Prevention is always better than cure. To avoid another melted plastic incident:
- Always Check Labels: Before placing anything in your microwave, ensure it is explicitly labeled “microwave-safe.” Look for symbols like wavy lines, a microwave oven icon, or text stating “microwave safe.”
- Avoid Single-Use Plastics: Many plastic containers designed for single use (e.g., yogurt cups, margarine tubs, take-out containers) are not microwave-safe and can melt, warp, or leach chemicals when heated.
- Glass and Ceramic are Best: Opt for glass or ceramic dishes whenever possible, as they are inherently microwave-safe and won’t melt.
- Know Your Microwave: Understand your appliance’s power settings and avoid overheating food, which can sometimes lead to melting even in supposedly safe containers if exposed for too long.
When to Call a Professional (or Consider a New Microwave)
While most melted plastic issues can be resolved with DIY methods, there are instances where professional help or even a replacement microwave might be necessary:
- Extensive Damage: If the melted plastic has caused significant damage to the microwave’s interior coating or components, it might compromise the appliance’s safety and efficiency.
- Persistent Odor: If a strong, acrid burning plastic smell persists even after thorough cleaning and ventilation, it could indicate that plastic has melted into internal components, posing a health risk.
- Operational Issues: If the microwave starts to malfunction, spark, or heat unevenly after the incident, it’s best to consult a professional technician or replace the unit.
Conclusion
Dealing with melted plastic in your microwave can be a daunting task, but with the right techniques, you can effectively remove the residue and eliminate any lingering odors. Remember to prioritize safety by unplugging the appliance and ensuring good ventilation. The ice-chilling method and steam-loosening approach are often the most recommended starting points, offering gentle yet effective solutions. By following these steps and practicing preventive measures, you’ll keep your microwave clean, safe, and ready for all your culinary needs. What other common microwave mishaps have you successfully tackled in your kitchen?
Frequently Asked Questions
Is it safe to use a microwave after melting plastic in it?
It is generally safe to use your microwave after thoroughly removing all melted plastic and residual odors. However, if any plastic residue remains or a strong burning smell persists, it’s best to clean it again or consult a professional to ensure no toxic fumes are being released.
How do I get the burnt plastic smell out of my microwave?
To remove the burnt plastic smell, try the steam-cleaning method using water mixed with lemon juice, lime slices, or white vinegar. After steaming, wipe the interior clean. For persistent odors, place a bowl of activated charcoal, baking soda, or coffee grounds inside the microwave overnight.
Can melted plastic damage my microwave?
Yes, melted plastic can potentially damage your microwave. While often cosmetic, severe melting can etch the interior coating, making it harder to clean and potentially creating uneven heating. If plastic melts onto internal components, it could lead to more serious malfunctions or safety hazards.
What tools are safest to scrape melted plastic off?
The safest tools for scraping melted plastic are non-abrasive options like a plastic bench scraper, a wooden spatula, an old credit card, or a dull butter knife. For very stubborn spots, a safety razor blade can be used, but with extreme caution to avoid scratching the microwave’s interior surface.