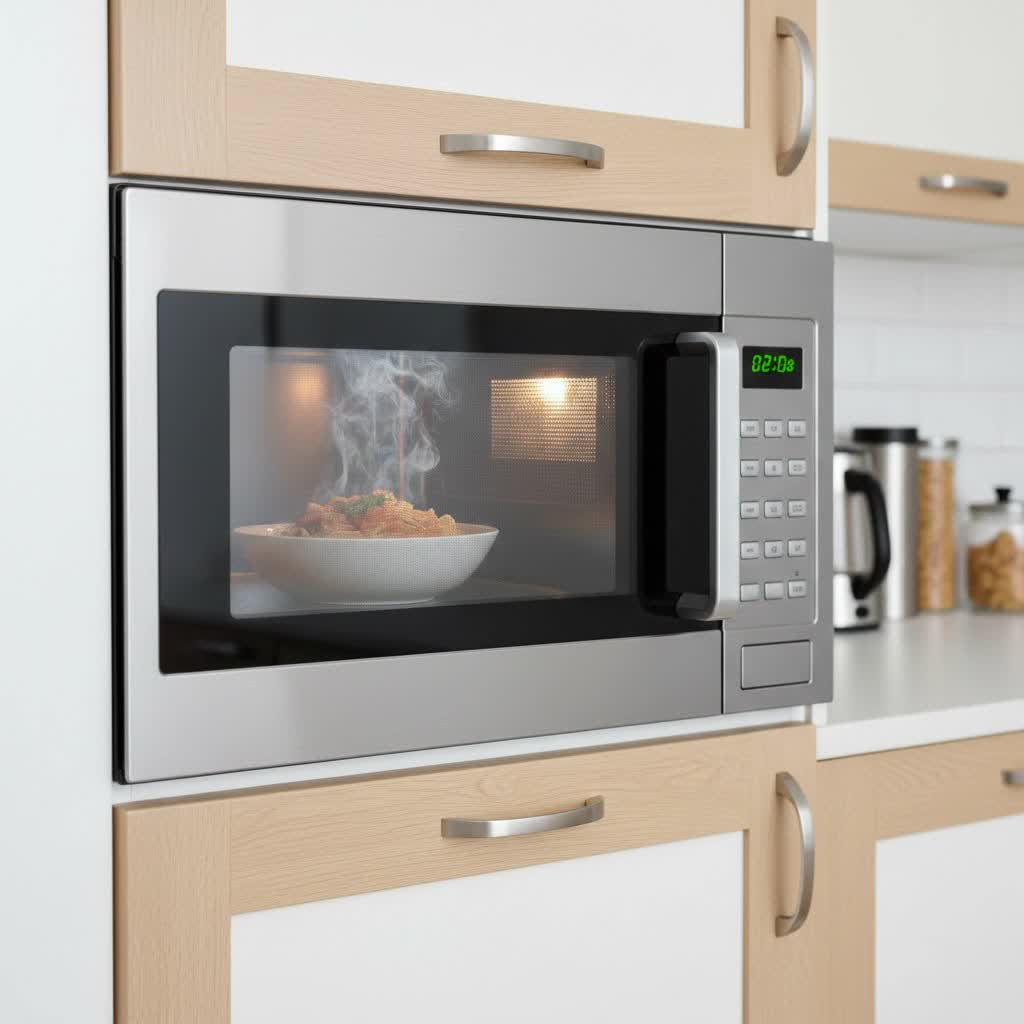
Few kitchen mishaps are as alarming as your microwave oven suddenly erupting in a shower of sparks. That bright, crackling light can send anyone into a panic, wondering if their appliance is about to explode or catch fire. But don’t worry, a sparking microwave doesn’t always mean the end of your trusty kitchen companion. Often, the cause is simple and easily fixable, allowing you to restore peace and safety to your cooking routine.
This comprehensive guide will demystify the unsettling phenomenon of microwave sparking, also known as arcing. We’ll explore the most common reasons behind these electrical fireworks, outline the crucial immediate steps to take, and provide detailed troubleshooting methods to get your microwave working safely again. You’ll also learn valuable preventative tips to keep your microwave spark-free for years to come.
What is Microwave Sparking (Arcing)? The Science Behind the Flash
Microwave sparking, or arcing, occurs when electricity jumps through the air, creating a bright flash of light and a crackling sound. Inside your microwave, this happens when microwave energy, which is designed to heat food, encounters certain materials or conditions that cause it to concentrate or reflect improperly. This concentrated energy can ionize the air, leading to a visible electrical discharge – the sparks you see. While sometimes harmless in the short term, prolonged arcing can damage your microwave’s internal components, and in severe cases, even pose a fire hazard. Understanding the underlying causes is the first step toward a solution.
Common Causes of Microwave Sparking
Several factors can lead to sparking inside your microwave. Identifying the specific culprit is key to effective troubleshooting.
1. Metal Objects in the Microwave
This is by far the most common and obvious reason for sparking. Microwaves operate by generating electromagnetic waves that cause water molecules in food to vibrate and produce heat. Metal, however, reflects these microwaves, preventing them from penetrating food. When microwaves reflect off metal, they can create a concentrated electrical field that quickly leads to arcing.
Common metal culprits include:
- Aluminum foil (even small pieces or crumpled foil)
- Metal utensils, such as spoons or forks
- Dishes or containers with metallic accents or trim
- Twist ties from bread or produce bags
- Staples on microwaveable food packaging
2. Food or Grease Buildup
A dirty microwave isn’t just unsightly; it can be a fire hazard. Over time, food splatters, grease, and carbonized debris can accumulate on the interior walls, ceiling, or turntable. These particles, especially around the waveguide cover, can absorb microwave energy and become “hot spots.” As they heat up, they can carbonize further, becoming conductive and causing sparks as electricity jumps between the buildup and the microwave cavity. This is particularly prevalent on the mica sheet, which covers the waveguide.
3. Damaged Waveguide Cover (Mica Sheet)
The waveguide cover, often a small, rectangular or irregularly shaped piece of mica or plastic, protects the waveguide (the “tunnel” that directs microwaves from the magnetron into the cooking chamber). If this cover becomes dirty with food debris, burnt, cracked, or otherwise damaged, it can prevent microwaves from distributing properly. This disruption can cause energy to concentrate and lead to sparking, often appearing as localized burn marks on the cover itself. Many perfectly good microwaves are often replaced when the fix is as simple as replacing this inexpensive part.
4. Chipped Interior Paint or Cavity Damage
The interior of your microwave is coated with a special, microwave-safe paint that helps reflect the waves evenly. If this paint becomes chipped, scratched, or worn, especially in high-traffic areas or due to impact from cookware, it can expose the bare metal underneath. When microwaves hit this exposed metal, it can create an arcing effect, similar to placing metal objects inside. These sparks often appear around the damaged spot and can worsen over time.
5. Worn or Damaged Rack Supports
Some microwaves come with metal racks for multi-level cooking. If the protective coating on these racks or their support pegs wears off, it can expose the metal beneath. Similarly, if the shelf supports on the interior walls become bent or damaged, they can create points where electricity can arc, leading to sparks.
Less Common, More Serious Causes
While less frequent, internal component failures can also cause sparking. These often require professional attention due to the dangerous high voltage involved:
- Faulty Diode: A microwave diode converts high voltage AC to DC, crucial for the magnetron. A failing diode can lead to sparking or improper operation.
- Failing Magnetron: The magnetron is the core component that produces microwaves. While rare, a magnetron nearing the end of its life can sometimes cause erratic behavior, including sparking.
- Faulty Stirrer Fan/Motor: In some models, a stirrer fan helps distribute microwaves. If it fails, energy distribution can become uneven, potentially leading to hot spots and arcing.
Immediate Safety Steps When Your Microwave Sparks
Seeing sparks can be frightening, but acting quickly and safely is paramount.
- STOP IMMEDIATELY: As soon as you see sparks or hear unusual crackling, press the “Stop” or “Cancel” button.
- UNPLUG THE MICROWAVE: Do not open the door before unplugging the appliance from the wall outlet. This cuts off all power and prevents any further electrical discharge or potential hazards.
- DO NOT OPEN IMMEDIATELY: Allow a moment for any residual energy to dissipate before opening the door and inspecting the interior.
- IDENTIFY THE CAUSE (From a Safe Distance): Once unplugged, carefully open the door and visually inspect the microwave’s interior for any obvious signs of the causes listed above.
Step-by-Step Troubleshooting and Fixes
Once you’ve secured the microwave, it’s time to investigate and resolve the issue.
Step 1: Remove All Metal Objects
This is the easiest fix. Thoroughly check the microwave cavity for any forgotten metal items. This includes:
- Aluminum foil (even small crumpled pieces)
- Metal utensils or twist ties
- Dishes with metallic trim or paint
- Microwave-safe labels on food packaging that might contain metallic ink.
Always ensure all dishes and containers used in your microwave are explicitly labeled “microwave-safe.”
Step 2: Thorough Cleaning of the Interior
A clean microwave is a happy, spark-free microwave. Food residue, especially on the waveguide cover, is a prime culprit.
How to Clean:
- Prepare a cleaning solution: Fill a microwave-safe bowl with 1-2 cups of water and 2 tablespoons of white vinegar (or the juice of one lemon for a fresh scent).
- Steam clean: Place the bowl in the microwave and heat on high for 5-7 minutes until the solution boils and the microwave cavity fills with steam.
- Let it sit: Leave the door closed for another 5-10 minutes to allow the steam to loosen grime.
- Wipe clean: Carefully remove the hot bowl. Using a damp cloth or sponge, wipe down all interior surfaces, including the ceiling, walls, floor, and turntable. Pay special attention to the waveguide cover, removing any burnt-on food or grease.
- Dry completely: Ensure the interior is thoroughly dry before plugging the microwave back in.
Step 3: Repairing Chipped Interior Paint
If you find small chipped areas exposing metal, you can often repair these yourself.
How to Repair:
- Ensure safety: Make sure the microwave is unplugged and has been off for a while.
- Clean the area: Gently clean the chipped spot and surrounding area with isopropyl alcohol to remove grease and debris.
- Lightly sand: Using very fine-grit sandpaper, gently sand the edges of the chipped area to create a smooth surface for the paint to adhere to. Wipe away any dust.
- Apply microwave-safe touch-up paint: Purchase specialized microwave-safe epoxy paint (not regular appliance paint). Apply a thin, even coat using a small brush.
- Cure: Follow the manufacturer’s instructions for drying and curing times, which can be several hours or even days. Do not use the microwave until the paint is fully cured.
Step 4: Replacing a Damaged Waveguide Cover
A burnt, cracked, or severely stained waveguide cover is a common source of sparks and is relatively easy to replace.
How to Replace:
- Locate and remove: The waveguide cover is typically found on the right-hand wall or ceiling of the microwave cavity. It might be held in place by small plastic clips, tabs, or a single screw. Carefully unclip or unscrew it and remove the old cover.
- Clean the underlying area: Gently clean any residue or soot from the area behind where the cover was located.
- Obtain a replacement: You can purchase universal mica sheets online or from appliance parts stores and cut them to match the shape and size of your old cover. Alternatively, search for a model-specific replacement part.
- Install the new cover: Insert the new cover, ensuring it fits snugly and is secured properly with clips or screws.
“Many perfectly good microwaves end up discarded due to a damaged waveguide cover, which is often a very inexpensive and straightforward DIY replacement. Don’t underestimate this small component’s impact.” – John Smith, Senior Appliance Technician
Step 5: Addressing Damaged Racks or Supports
If your microwave’s metal rack has exposed metal or the interior rack supports are damaged:
How to Fix:
- Inspect: Remove the rack and carefully inspect its coating. Examine the rack supports on the microwave walls for bends, breaks, or exposed metal.
- Replace: If the rack is damaged, it’s best to replace it with an original manufacturer part or a suitable microwave-safe alternative. If the support pegs are damaged, these can often be replaced by prying out the old ones and snapping new ones into place.
When to Call a Professional
While many sparking issues are DIY-friendly, some require expert intervention due to the inherent dangers of high-voltage components.
You should call a qualified appliance technician if:
- You’ve tried all the troubleshooting steps, and the microwave continues to spark.
- You suspect a faulty internal component like the magnetron, diode, or transformer. These components store extremely high, potentially lethal voltage even after the unit is unplugged. Never attempt to troubleshoot or replace these parts yourself.
- The sparking is accompanied by unusual smells (like burning plastic or electrical fumes), excessive smoke, or strange noises that persist after addressing basic issues.
- The microwave door is damaged and no longer seals properly, as this can allow microwave energy to leak.
Your safety is paramount. When in doubt, always err on the side of caution and consult a professional.
Preventative Maintenance to Avoid Future Sparking
A little care goes a long way in keeping your microwave safe and functional.
- Always use microwave-safe containers: Check labels carefully. Avoid metal, aluminum foil, and any dishes with metallic elements.
- Keep it clean: Regularly wipe down the interior to prevent food and grease buildup, paying close attention to the waveguide cover. A quick wipe after each use can prevent carbonization.
- Inspect regularly: Periodically check the interior walls, ceiling, waveguide cover, and rack supports for any signs of damage, chipping, or wear. Address minor issues promptly before they escalate.
- Avoid microwaving “dry” foods: Foods with very low moisture content (e.g., chili peppers, some hot dogs) can sometimes spark because there aren’t enough water molecules to absorb the microwave energy, causing it to concentrate elsewhere.
- Gentle handling: Be careful when placing or removing dishes to avoid scratching the interior paint or damaging the waveguide cover or rack supports.
Conclusion
Encountering sparks in your microwave can be startling, but often, it’s a clear signal that your appliance needs a little attention, not necessarily a trip to the landfill. By understanding the common causes—from accidental metal inclusions to food buildup or minor component damage—you can confidently troubleshoot and resolve most issues. Prioritizing safety by immediately unplugging the unit is crucial, followed by a systematic approach to cleaning, inspection, and repair. Remember, for more complex internal component issues, the expertise of a professional is invaluable for your safety and the longevity of your appliance. A well-maintained microwave is a safe and efficient microwave, ready to serve your culinary needs for years to come.
What’s the most unusual thing you’ve ever seen spark in a microwave?
Frequently Asked Questions
Is it safe to use a microwave that has sparked?
No, it is generally not safe to continue using a microwave immediately after it has sparked. You should stop the cycle, unplug the appliance, and identify the cause of the sparking before using it again. Prolonged sparking can damage the microwave and potentially lead to a fire.
Can a dirty microwave cause sparks?
Yes, a dirty microwave is a very common cause of sparking. Food particles, grease, and carbonized debris can accumulate on the interior surfaces, especially on the waveguide cover. These act as “hot spots” that absorb microwave energy, leading to arcing and sparks.
How do I clean the inside of my microwave to prevent sparking?
For effective cleaning, place a microwave-safe bowl containing 1-2 cups of water and 2 tablespoons of white vinegar (or lemon juice) into the microwave. Heat on high for 5-7 minutes until steam fills the cavity, then let it sit for another 5-10 minutes. Afterwards, wipe down the softened grime with a damp cloth.
What is the waveguide cover, and how does it relate to sparking?
The waveguide cover is a protective panel, often made of mica, located inside the microwave cavity. It shields the delicate waveguide (which directs microwaves) from food splatters. If this cover becomes dirty, burnt, or damaged, it can interfere with microwave distribution and cause sparks.
Can I repair chipped paint inside my microwave myself?
Yes, minor chipped paint can often be repaired using specialized microwave-safe epoxy touch-up paint. After thoroughly cleaning and lightly sanding the area, apply the paint according to the manufacturer’s instructions and allow it to cure completely before using the microwave again.
When should I call a technician for microwave sparking?
You should call a professional if sparking persists after trying basic troubleshooting, if you suspect damage to high-voltage internal components like the magnetron or diode, or if you notice burning smells, excessive smoke, or a damaged door seal. Attempting to repair these components yourself is extremely dangerous.